By implementing the blueprinting process, collision repairers are finding that hidden damage can often be uncovered before the vehicle is repaired.
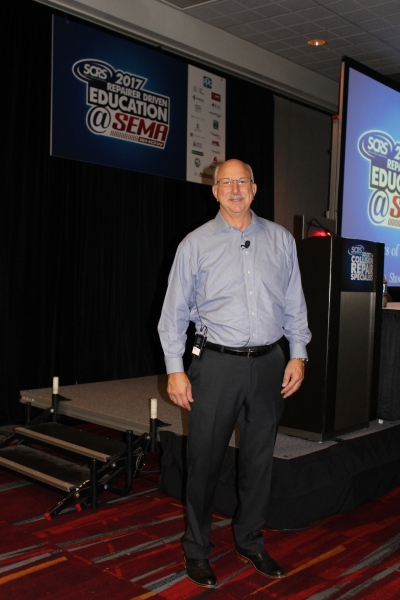
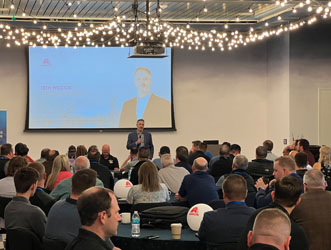
John Shoemaker, business development manager for BASF, said that blueprinting can lead to better cycle times, improved efficiency and a more accurate estimate. During the SEMA show in Las Vegas, Shoemaker shared blueprinting tips with body shop owners and managers who attended his Society of Collision Repair Specialists (SCRS) seminar: “The Basics of Blueprinting.”
“Hidden damage is the number one reason for delays in the repair process,” said Shoemaker. “Blueprinting is a team effort that involves the estimator, the body technician, the painter and your parts people. When you’re finished with the blueprinting process, you will want to have a really clear definition of what’s going to happen to that vehicle and how all the pieces come together.”
He said there are five main objectives to blueprinting: developing an accurate plan of repair that identifies all labor operations; communicating the repair requirements to all departments; devising a schedule for repair; putting together a plan for resource utilization; and eliminating work stoppage.
Some of the useful tools to consider having on-hand during the blueprinting process include a point of use cart, which eliminates errors as well as trips back and forth to the office; a camera; a tread depth gauge; measuring and blend tools; dent viewer boards; system scanners to verify trouble codes and diagnose restraint system codes; and parts carts.
15 Steps for Successful Blueprinting:
1. Review initial estimate
Shoemaker stressed the importance of reviewing the initial estimate to triage the repair and determine if tear-down is really necessary.
“You can find out quickly what the vehicle needs by scanning the estimate,” he said.
2. Map the vehicle
Different marker colors can be used to map a vehicle. For example, use a green marker to indicate operations that have been approved for repair; a yellow marker to show supplement operations; and a red marker to note areas not approved to repair or that are identified as pre-existing damage. Shoemaker said shops can visually enhance the repair plan using circles, arrows or short notes and write customer requests or repair messages on the windshield.
3. Verify vehicle information and take preliminary photos
When verifying the vehicle information, Shoemaker said to look at the make, model, trim level decoding, mileage, production date, exterior and interior color of the vehicle. He said that one of the most critical things to do during the process is verify the preliminary photos, which should include four separate shots that capture each corner of the vehicle in a photo, as well as photos of the license plate, the instrument cluster, one with the engine running, dash warning lights and mileage, VIN plate and production date.
4. Pre-scan diagnostics
A pre-scan of the vehicle will locate any diagnostic trouble codes with the vehicle.
“That’s where you are going to pick up your time, by finding issues in front of the repair” said Shoemaker. “Through the OEM process, you’re going to find a ‘tree.’ Some people call it a rabbit hole. The time you’re going to bill for is based on how far down that rabbit hole you’re going to have to go to correct the trouble code.”
He recommends having fully charged batteries before conducting any scan. In addition to a pre-scan, Shoemaker said a post-scan of the vehicle will verify the need for recalibration.
5. Damage review
When conducting a damage review, Shoemaker recommends starting at the end with the most damage and working panel by panel to the opposite end of the vehicle to identify the repairs needed. Part of the repair process includes a review of the Procedural Pages (P-pages), which describe the included and non-included labor operations. The Society of Collision Repair Experts (SCRS) Guide to Complete Repair Planning is a free resource available on the SCRS website and includes operational reminders for the collision repair industry.
6. Disassemble for repair
First, Shoemaker recommends positioning your parts cart to store all the parts removed and separate the usable from the unusable. Place the clips in labeled bins and identify any that are broken.
“Disassemble with reassembly in mind,” said Shoemaker. “We want to disassemble completely so when you go to put it back together, you’ve got every single thing you need.”
7. Perform the R&I (remove and install) process
Repair access can include headlamps, mounting brackets, windows and Interior trim while refinish access includes door handles, weather strips and fender liners.
“Make sure to include this information in the line notes,” said Shoemaker. “The estimate is a communication device that tells everybody what you are doing and why.”
8. Inspect lighting and wiring
The number one CSI complaint, according to Shoemaker, regards lamps. As a result, he recommends inspecting all wiring harnesses for kinks/breaks, looking for broken bulbs and identifying the number of broken wires in the line note. A parts line can be added for connectors, tape and solder.
9. Inspect inner vehicle structure
When reviewing the structure composition, Shoemaker said to pay close attention to the metals you are working with. OEM websites, AllData and I-CAR guidelines are all resources that can help shops determine steel type and ultimately, the reparability of the vehicle.
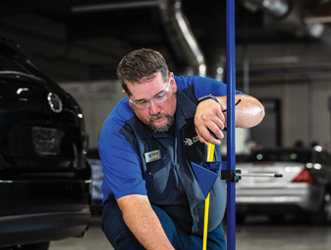
10. Structure measurement and repair
“Similar to scanning, any vehicle that has considerable damage needs to be measured,” said Shoemaker.
Establishing torque box measurement includes measuring select points, determining the damage, reason (squash or mash) and severity. Shoemaker recommends shops itemize each repair required.
“Document exactly what you replace,” he said. “We live in a litigious society. We own the repair---we give everyone a lifetime warranty.”
11. Determine additional damage
This includes associated damage to adjacent panels, mechanical repairs and interior repairs from secondary impact and restraint systems. Some of the websites that can be accessed to verify the repair process in respect to restraint systems include: OEM procedures, I-CAR, AllData and OEM1stop.
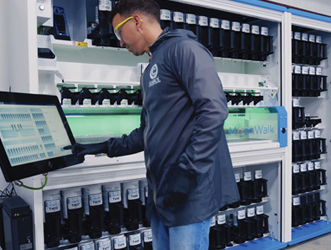
12. Refinish requirements
During this stage of the process, Shoemaker said to determine blend requirements, the multi-stage process, paint times, as well as any clear and stripe requirements. When looking at identifying the paint type for a certain vehicle, use your paint manufacturer’s system, such as BASF’s SmartTrak system.
13. Address other requirements
Checking the fluid and tires are also important parts of the process.
“Any fluids removed should be measured,” said Shoemaker. “This allows for adequate replacement and billing.”
After identifying the specific OEM requirements, reusable fluids can be stored in a sealed container and any Freon recovered should be documented. Regarding tires, note the tire size and depth in the line note, as well as the brand.
14. Complete repair plan and take final photos
When completing the repair plan, Shoemaker said to verify the “Incl” labor and conduct a P-Page audit for all the vehicle parts and procedures. When in doubt, he recommended consulting the Database Enhancement Gateway (DEG) database found at degweb.org. Funded by the Alliance of Automotive Service Providers (AASP) and the Society of Collision Repair Specialists (SCRS), DEG was developed to help improve the accuracy of collision repair estimates. The repair plan can be used as a checklist for final photos.
“Take the photos in the order of the estimate and label them for clarification,” said Shoemaker.
15. Vehicle value and reparability
When determining a vehicle’s value, Shoemaker said shops can conduct thorough research on the NADA website and indicate the exact make, model and trim as well as the current mileage. The reparability of a vehicle can be determined by taking the appraisal total and dividing it by the vehicle value as a percentage. For example, if you take the appraisal total of $8,695 and divide it by a vehicle value of $12,025, the repair percentage is 72%. Shoemaker said that by comparing the repair percentage to your local laws, it will help you determine if a vehicle should be repaired or considered a total loss.
“Overall, when you are blueprinting, be thorough and descriptive, itemize all repairs, take photos and document, document, document,” said Shoemaker. "Use line notes whenever possible. They’re free---they don’t cost a thing. If the insurer says, ‘No,’ you haven’t given them enough information.”


Stacey Phillips Ronak